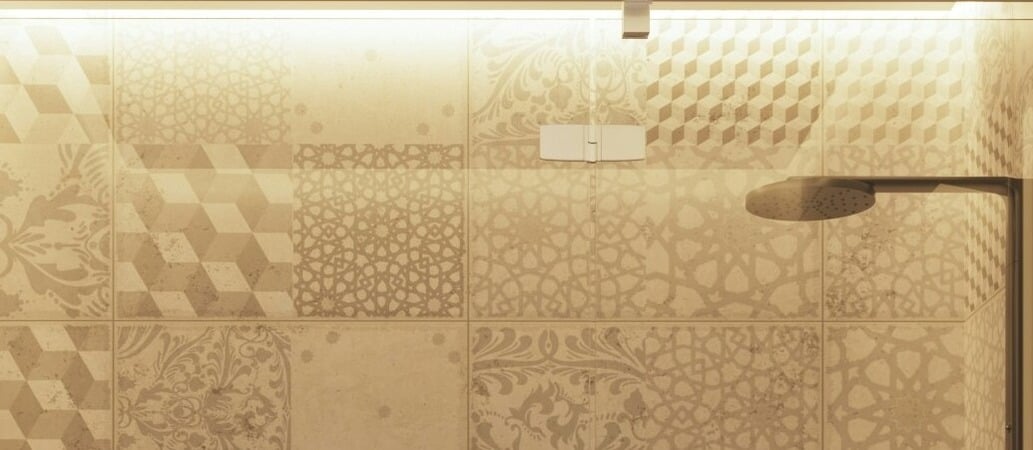
How to Seal Shower Wall Panels

Whether you have traditional tiles or bathroom wall panels in your shower, ensuring they are well-sealed is imperative to preventing leaks in your bathroom. Over time the seals around your shower wall panels can become mouldy, worn, and broken. This, at best can cause a wet floor around your shower, and at worse, a leak into the floor below. Monitoring and repairing (when required) your shower seal can help to avert these problems. In this blog, we explore how you will know when your shower needs resealing, what equipment you will need, and how to go about applying new seal.
How Do You Know If a Shower Wall Should Be Resealed?
It will be fairly obvious that your shower needs resealing. You may notice sealant coming away from the shower tray, there may be water outside of your shower on the bathroom floor, or you may experience a leak in an adjoining room. All of these are signs that your shower needs to be resealed.
What Equipment Will I Need?
Sealing your shower is not that difficult. However, there are a few items that will make the job easier for you:
- Protective gloves
- Sharp knife
- Damp cloth
- Clean, dry cloth
- White spirit
- Masking tape/Duct tape
- Silicone/Sealant – ensure you use a silicone or sealant that is fit for purpose i.e. waterproof and suitable for use in showers
- Sealant finishing tool.
The Steps to Resealing Shower Wall Panels
- Firstly, put on your protective gloves. Silicone is an irritant and may cause a reaction on your skin.
- Remove any existing silicone using a sharp knife and then wipe away any residual silicone with a clean, damp cloth, trying not to scratch the surface of your shower tray or wall panels. You can use white spirit to remove any stubborn, small pieces of silicone.
- Clean the surface and make sure to let it dry completely before applying the silicone.
- If you do not have a steady hand, you can tape to mark the path of the silicone and prevent it from going onto your wall panels or shower tray.
- Apply an even bead of silicone to the groove – or the line marked by your tape – and use the sealant finishing tool to spread the silicone evenly over the area.
- Wipe away any excess sealant with a clean cloth.
- Wait for the silicone to dry before using your shower.
Resealing Best Practices
- Use the correct sealant for the job – and the best you can afford.
- Always use protective gloves to protect your hands from the silicone.
- Aim to reseal tiles every 1 to 2 years to ensure the seal continues to work correctly. If you have wall panels, you should be able to leave longer between each reseal.
- Monitor your shower regularly and if you spot any issues, reseal as soon as possible to prevent these issues becoming more problematic and costly.
Explore Our Shower Wall Panel Range
Wall panels are the perfect partner for any bathroom and shower. Available in myriad designs and colours, 100% waterproof, easy to install and even easier to install, these panels are a stylish, hygienic alternative to traditional tiles. If you would like to know more about our range of wall panels, or how to seal them correctly in your shower, call our expert team today on 0800 22 77 77.