How to Install Slat Wall Panels
Slat or acoustic wall panels are fast becoming a popular wall covering choice for many homeowners. Combining contemporary style with sound enhancing qualities they are the perfect addition to most modern homes. But how easy are they to install? This blog will take you step-by-step through the installation process to hopefully answer this question for you.
What Are Slat Wall Panels?
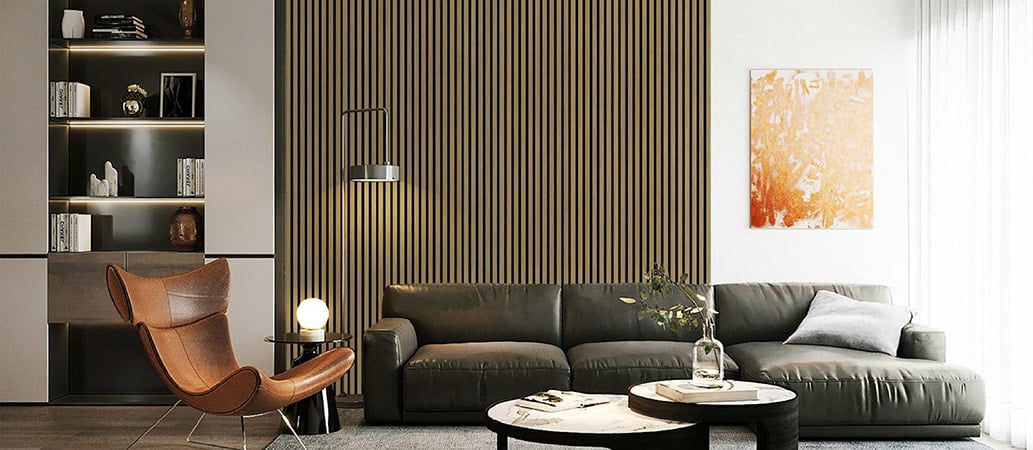
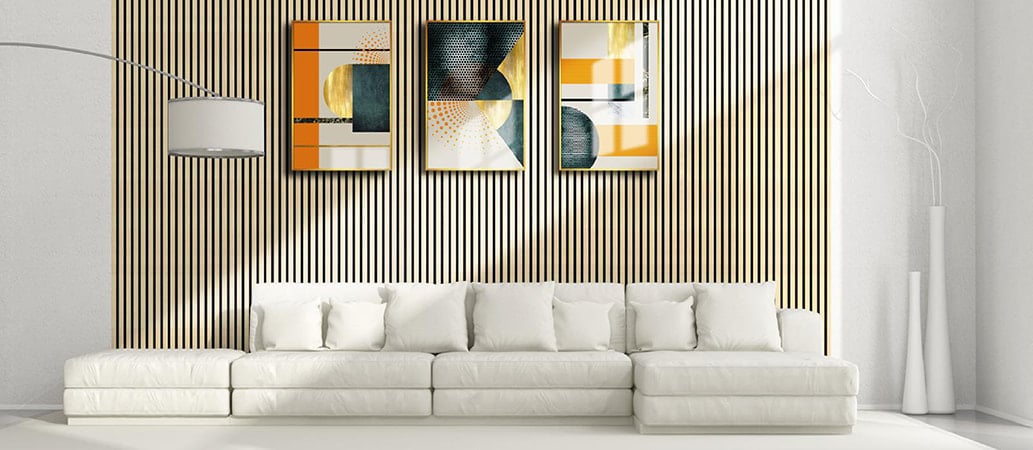
Slat, or acoustic, wall panels offer a contemporary aesthetic whilst absorbing noise and improving sound quality. As their name implies, they have a slatted design which creates depth and texture. The slat panels from National Plastics have a real wood veneer on three sides, giving them a beautiful finish from every angle. Also, all the wood used is sustainably sourced while the rigid backing is made from 100% recycled materials. This makes our slat panel range one of the most sustainable options available.
Tools and Materials You'll Need
To install your new slat wall panels using adhesive, you will need the following tools and materials:
- Either a hand saw, circular saw or jigsaw all with a fine-tooth blade
- Stanley knife
- Tape measure and pencil or marker
- Adhesive and adhesive gun
- Spirit level
- Slat Wall Panels
Step-by-Step Guide: How to Install Slat Wall Panels
Once you have your tools and materials, you can start installing your new slat wall panels.
Step 1 - Prepare the Wall
Before you start your installation, you need to prepare your walls. Start by removing any debris, screws and nails which may be in the wall. You can then clean the surface with a damp cloth. It is important to ensure that the wall is completely flat, even, and dry before you start installing your new slat panels.
Step 2 - Plan Your Layout
Planning your layout and where you want your panels to be placed may sound obvious, but it's a very important step. Once you know where you want your panels to go, you need to measure the wall.
Do this by measuring the height and width of the area where you plan to install the wall panels. Mark these measurements on the back of the panel to denote where you need to cut.
Step 3 Cutting the Panels
Use a hand saw, circular saw, or jigsaw to cut your slat wall panels. To ensure a straight, clean cut, place a strip of masking tape along your marked line. A Stanley knife is useful to accurately cut the felt on the back of the panel. Always cut the panel with the front face of the panel facing down and use 180 grit sandpaper to smooth away any rough edges.
Step 4 - Applying Adhesive
Once you've made your cuts and have placed the panel in situ without adhesive and are happy with the fit, you can apply your adhesive. We recommend applying this in a zig zag pattern on the back of the panel, ensuring it is evenly spaced. A top quality grip and grab solvent free adhesive is a good choice for this type of wall panel installation.
Step 5 Fitting the Panels
Once the adhesive is applied, you can lift the panel into position maybe with a little bit of help! You will be installing the panels from left to right or bottom to top, depending on your desired orientation. Make sure you keep it straight as you press it against the wall and apply gentle pressure to ensure the adhesive adheres. Now, hold it in place to allow the adhesive to set.
After fitting your first panel, check the horizontal or vertical alignment with a spirit level to ensure it is straight. Now you can attach your second panel. However, before pressing the panel onto the wall you need to make sure there is no gap between the panels. Also, it is a good idea to check the vertical or horizontal alignment again after each panel is installed.
Step 6 Dealing with Sockets & Fixtures
If your panels need go around sockets or fixtures, measure and mark the position of each on the back of the panel. Using a Stanley knife for the felt and a small hand saw for the wood slats ; you can cut around each marked position. Sand down any rough edges for a smooth finish.
For the proper installation of a plug socket or light switch, you will need to use the correct electrical box. A spacer ring should then be added to the box which will allow for the cables to run the depth of the panel safely. The socket can then be screwed directly into the panels and wall to support the fixture.
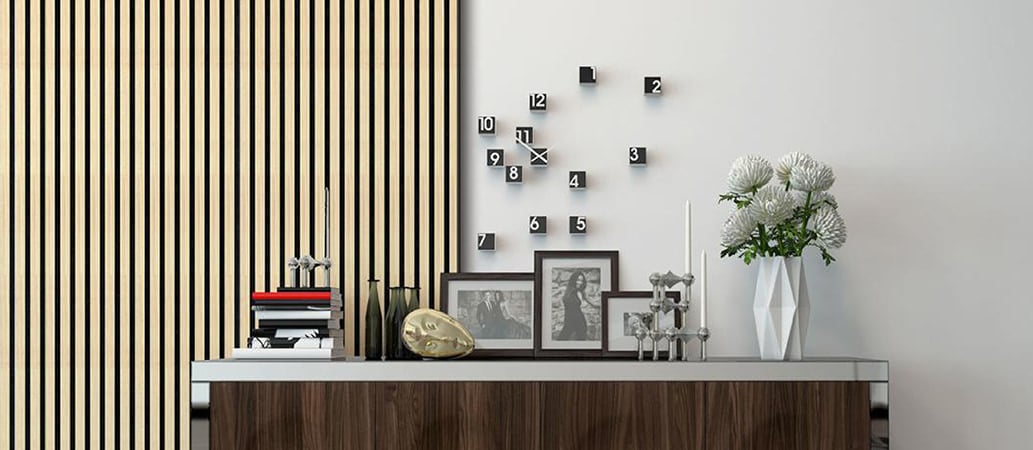
Can You Hang Things on Slatted Wall Panels?
Yes, you can! Shelves, cabinets, televisions, and decorative items can all be attached directly to your new slat panels. However, it is important to wait at least 24 hours after installation before attaching anything, as this will allow the adhesive to cure completely. When fixing items to your slat panels, ensure that your fastenings reach the substrate behind the panel and always pre-drill the holes. For heavier items, it is essential to secure them by screwing through the panel and into the solid wall behind. This will ensure that the weight of the item is supported by the structural wall rather than the panel alone.
Where Can You Use Slatted Wall Panels?
Anywhere! But, as they feature a real wood veneer, they are particularly suited to rooms with low levels of moisture, such as a lounge, study, dining room, or bedroom. However, wherever you choose to install them, you will be guaranteed a beautifully stylish and contemporary finish, with excellent sound qualities.
Ready to Transform Your Space?
If you're ready to transform your home with slat wall panels, take a look at our range of stunning panels or call our friendly team on 0800 22 77 77 for expert, knowledgeable advice.
Related Posts

Introducing Zest Acoustic Wall Panels
Renovating Your Bathroom with Zest Wall Panels

Can You Paint Over a Bathroom Panel?
Can I Put Acoustic Panels Behind My TV