A guide on external PVC cladding and its uses

What is PVC cladding?
PVC cladding is a ‘skin’ for your home. It provides an extra layer of protection to your external walls, helping to uplift the thermal value of the building structure, which in turn can improve energy efficiency and running costs.
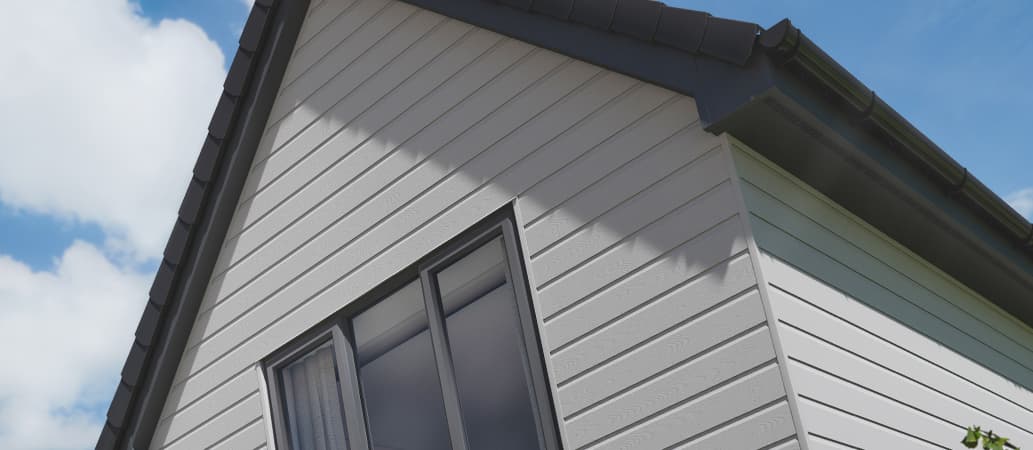
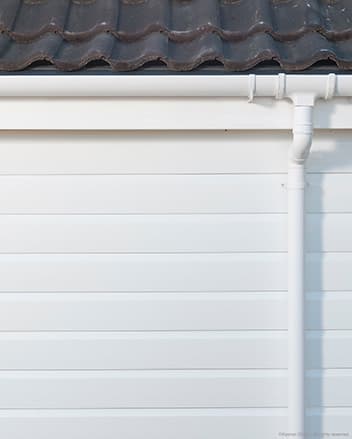
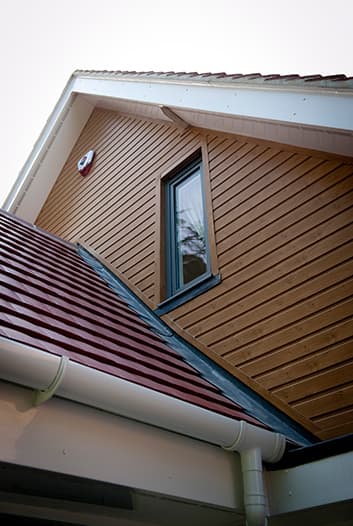
PVC cladding is available in an extensive range of colours – from traditional white to contemporary anthracite grey - and designs, allowing you to add an interesting aesthetic or a new lease of life to your home.
How to correctly install PVC cladding
You will get the most out of your PVC external cladding by installing it correctly – and for all installations, preparation is key:
New projects
New projects will require a sound substrate, good quality battens (suitable treated timber), insulation (if required) and a vapour membrane.
Replacement projects
The replacement of existing exterior cladding requires the removal of old material, a checked and repaired substrate to ensure a sound location for battens, installation of good quality battens, insulation, and vapour membrane.
The installation processes for white and coloured PVC cladding are slightly different, and it’s good to know the basics before your get started:
A step-by-step guide for both white and colour/foil installations:

White:
- It is recommended using 25mm x 38mm battens (19mm x 38mm min).
- Install battens with appropriate fixings for the substrate. Do not install horizontal bottom battens as this will block the ventilated air-path.
- Fix battens at max 600mm centres.
- Ensure battens are fixed around the door and window openings to allow plank ends to be nailed.
- If required, or where insulation is inserted, always install a vapour breathable membrane behind the cladding battens to ensure the air-path is not obstructed.
- Fix rigid perimeter trims first using 25mm A4 stainless steel ring shank pins. Where 2 pt. trims are being used, only fix the back part.
- Locate first cladding plank in starter trim and nail to battens using 30mm A4 stainless steel ring shank pins. Ensure all plank ends are fixed to a batten.
- Interlock subsequent planks, fully engaging tongue and groove detail, and fix to battens.
- Joints in long runs must be made over a batten to ensure plank ends are fixed.
- Once the total area is clad, finish perimeter trims by snap fitting the front part of any 2 pt. trims.

Colour/Foil:
- It is recommended using 50mm x 50mm battens.
- Install battens with appropriate fixings for the substrate. Do not install horizontal bottom battens as this will block ventilated air-path.
- Fix battens at max 400mm centres.
- Ensure that the 50mm air-path is open both at the base and the top edge of the cladding to create a clear draw of air directly behind the cladding. This can be covered with a suitable vent trim to stop insect ingress.
- Follow same installation procedure as for white.
Correctly installed PVC cladding can provide you with a beautiful, eye-catching home, that not only requires very little maintenance but is also more energy efficient. If you’re still unsure what style or colour will suit your home, or you require further guidance on how to install your PVC cladding, our team of experts in our branches will be able to steer you safely through the entire process.